Check-in forms are how clients report back to you on a schedule — weight, energy, sleep, and anything else you want to ask. Submissions land in your dashboard queue and on the client's Forms & Check-Ins tab.
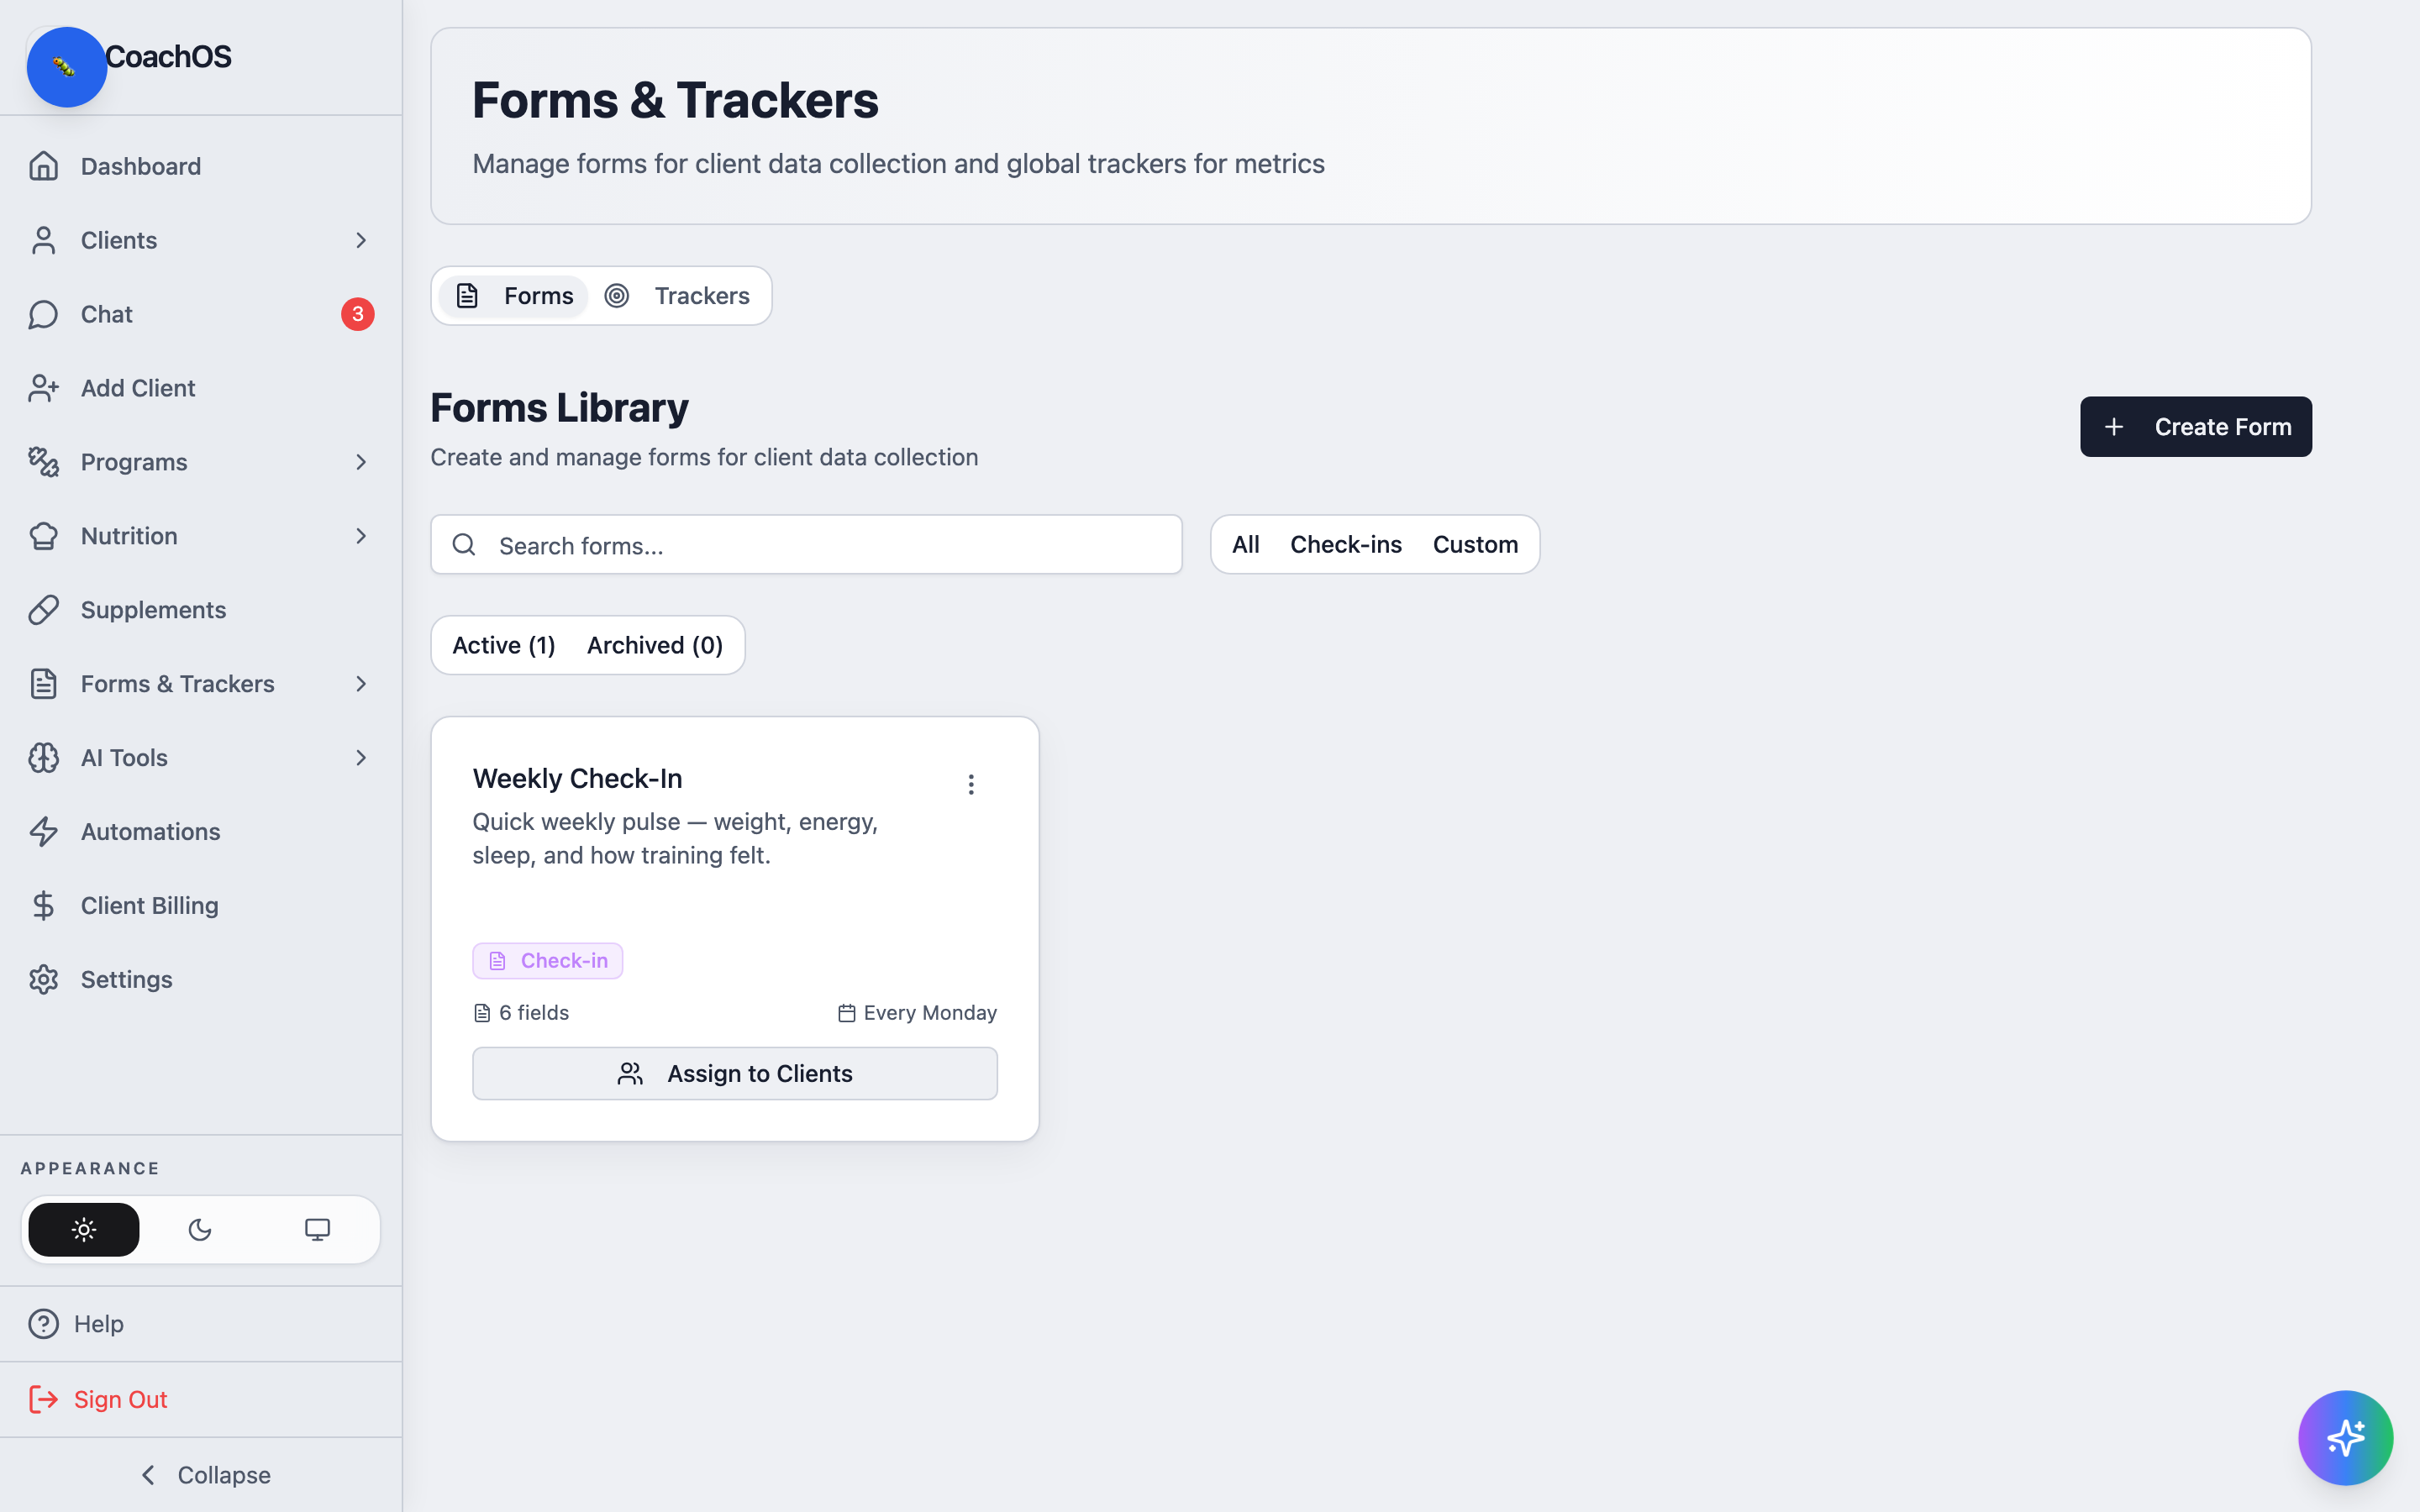
1. Open the Forms Library
In the sidebar, click Forms & Trackers → Forms. Existing forms show their type, field count, and schedule (for example, "Every Monday"), with an Assign to Clients shortcut on each card.
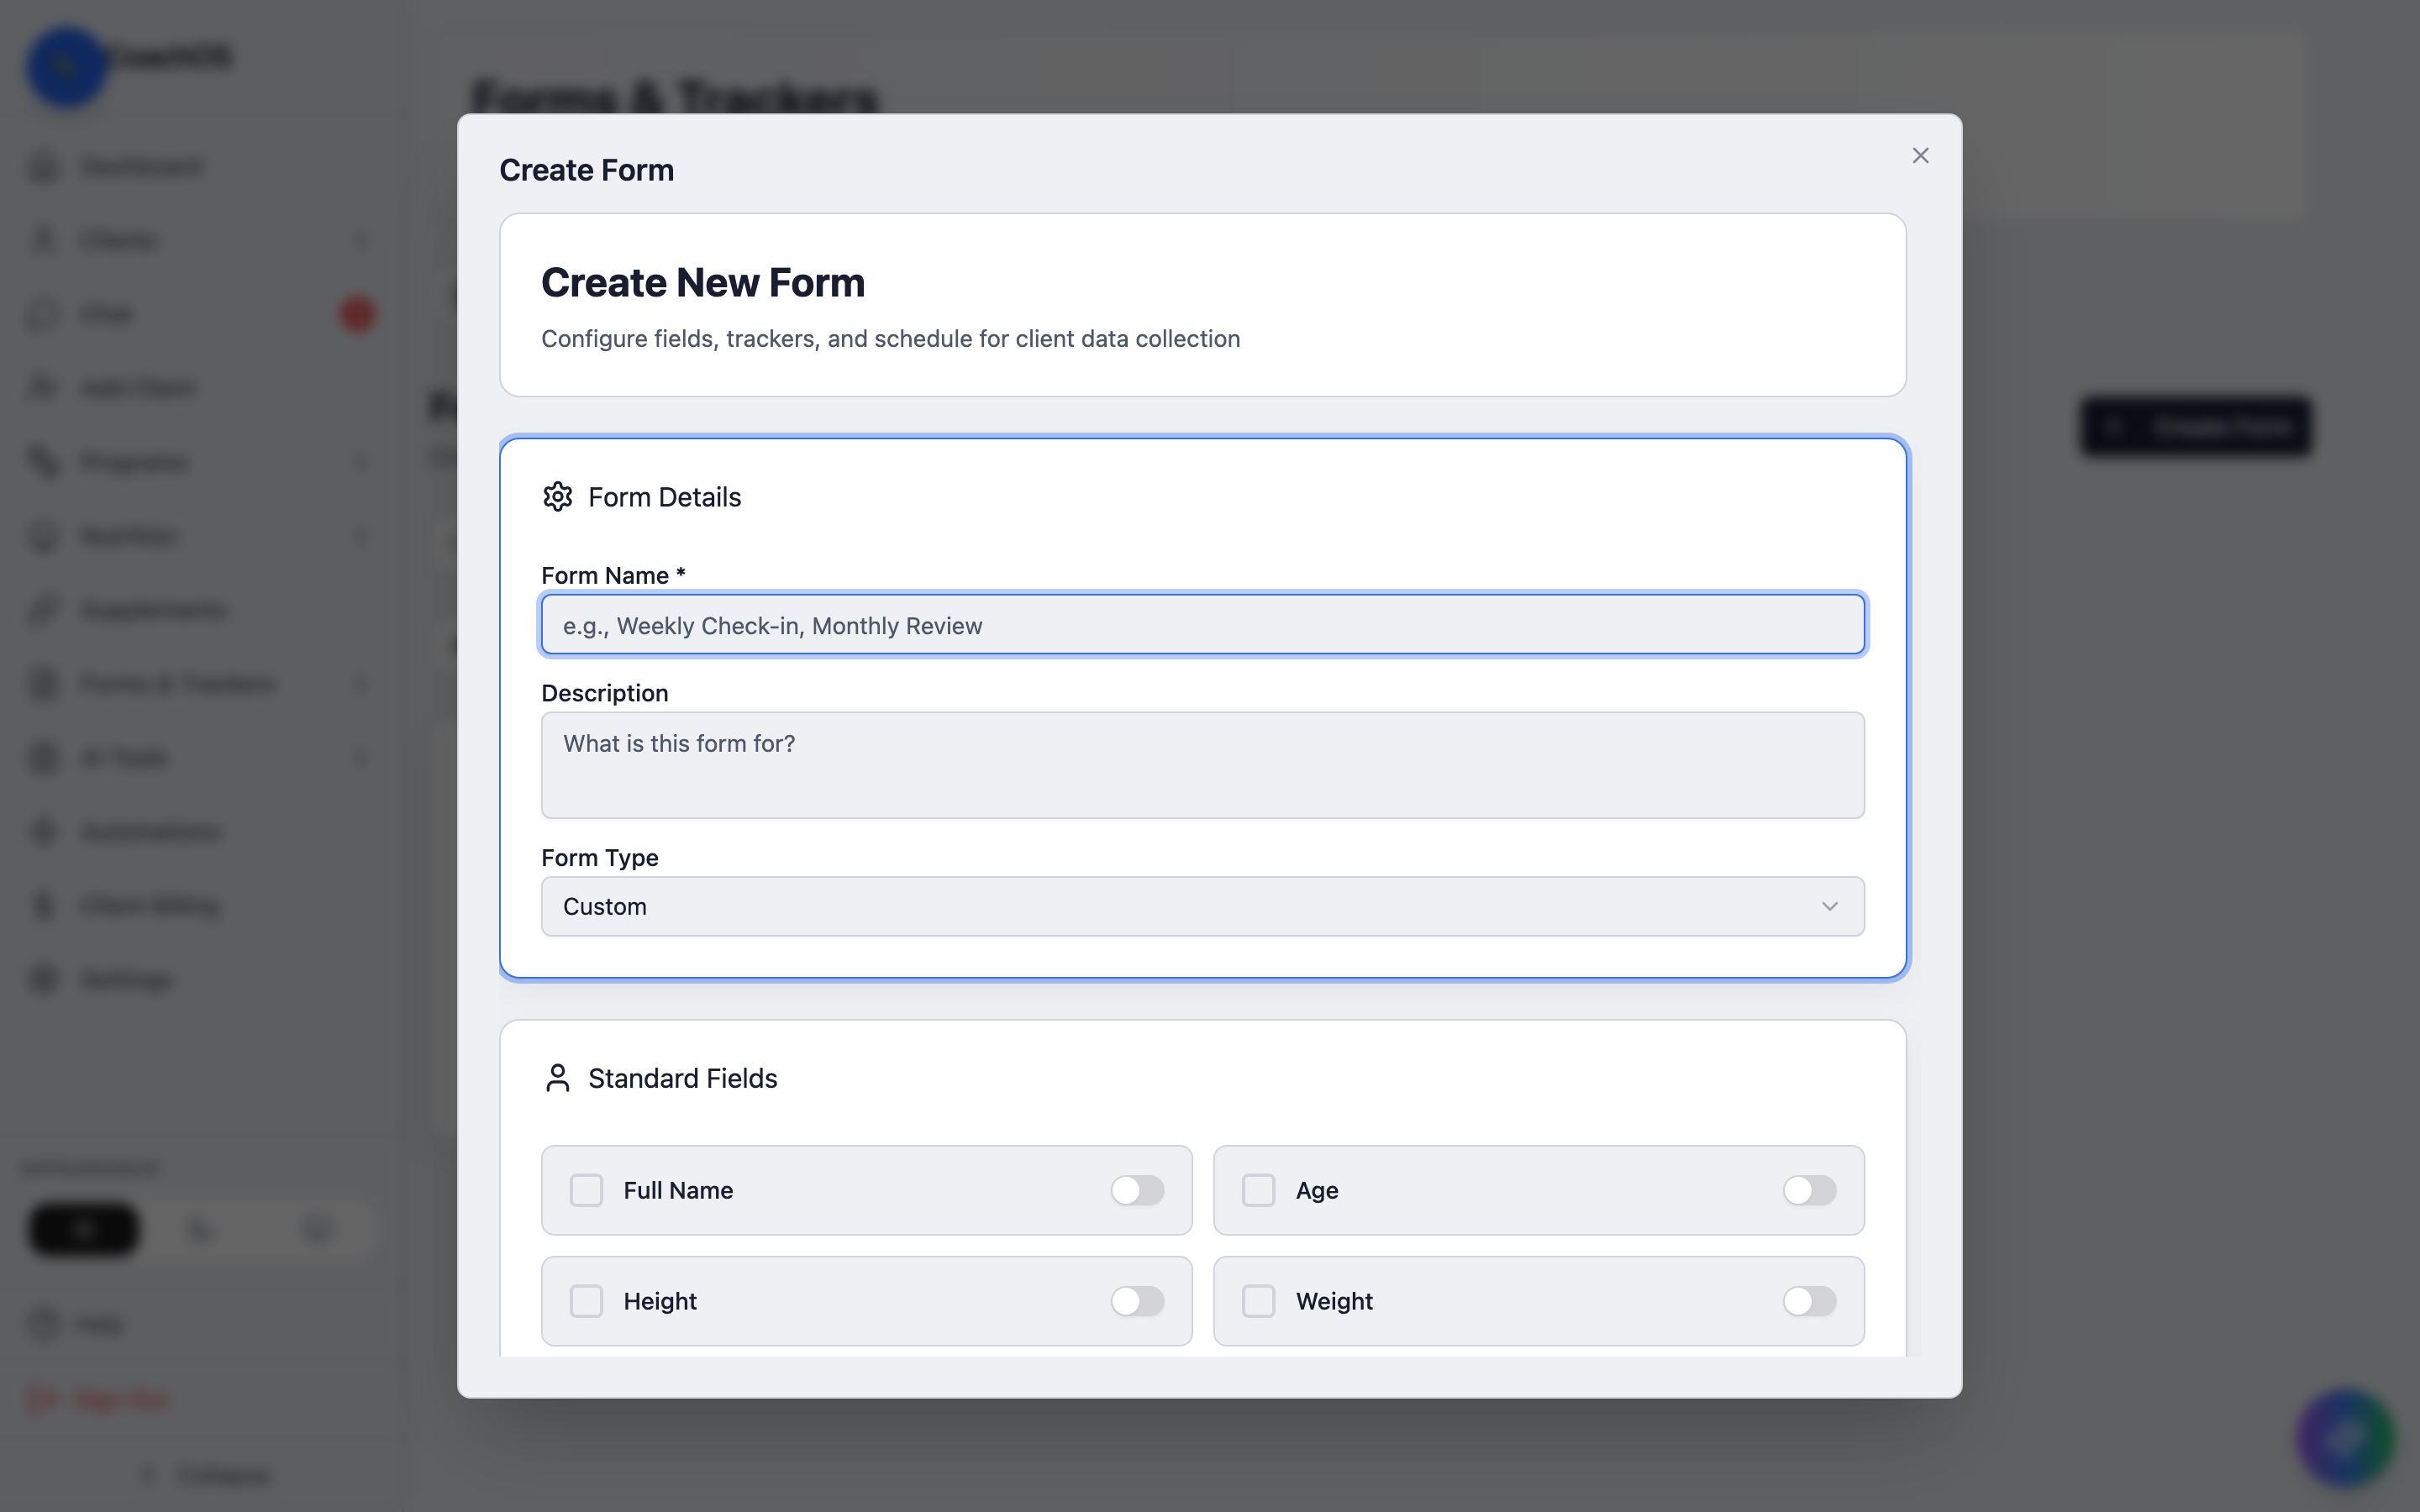
2. Create the form
Click Create Form. Under Form Details, name the form, describe it, and pick the Form Type (check-in forms recur; custom forms are one-off). Toggle on the Standard Fields you want — Full Name, Age, Height, Weight — then add your own custom questions below, and set the schedule before saving.
3. Assign it
Use Assign to Clients on the form card to pick who receives it. Clients get the form on the schedule you set; overdue ones surface on your dashboard under OVERDUE CHECK-INS.
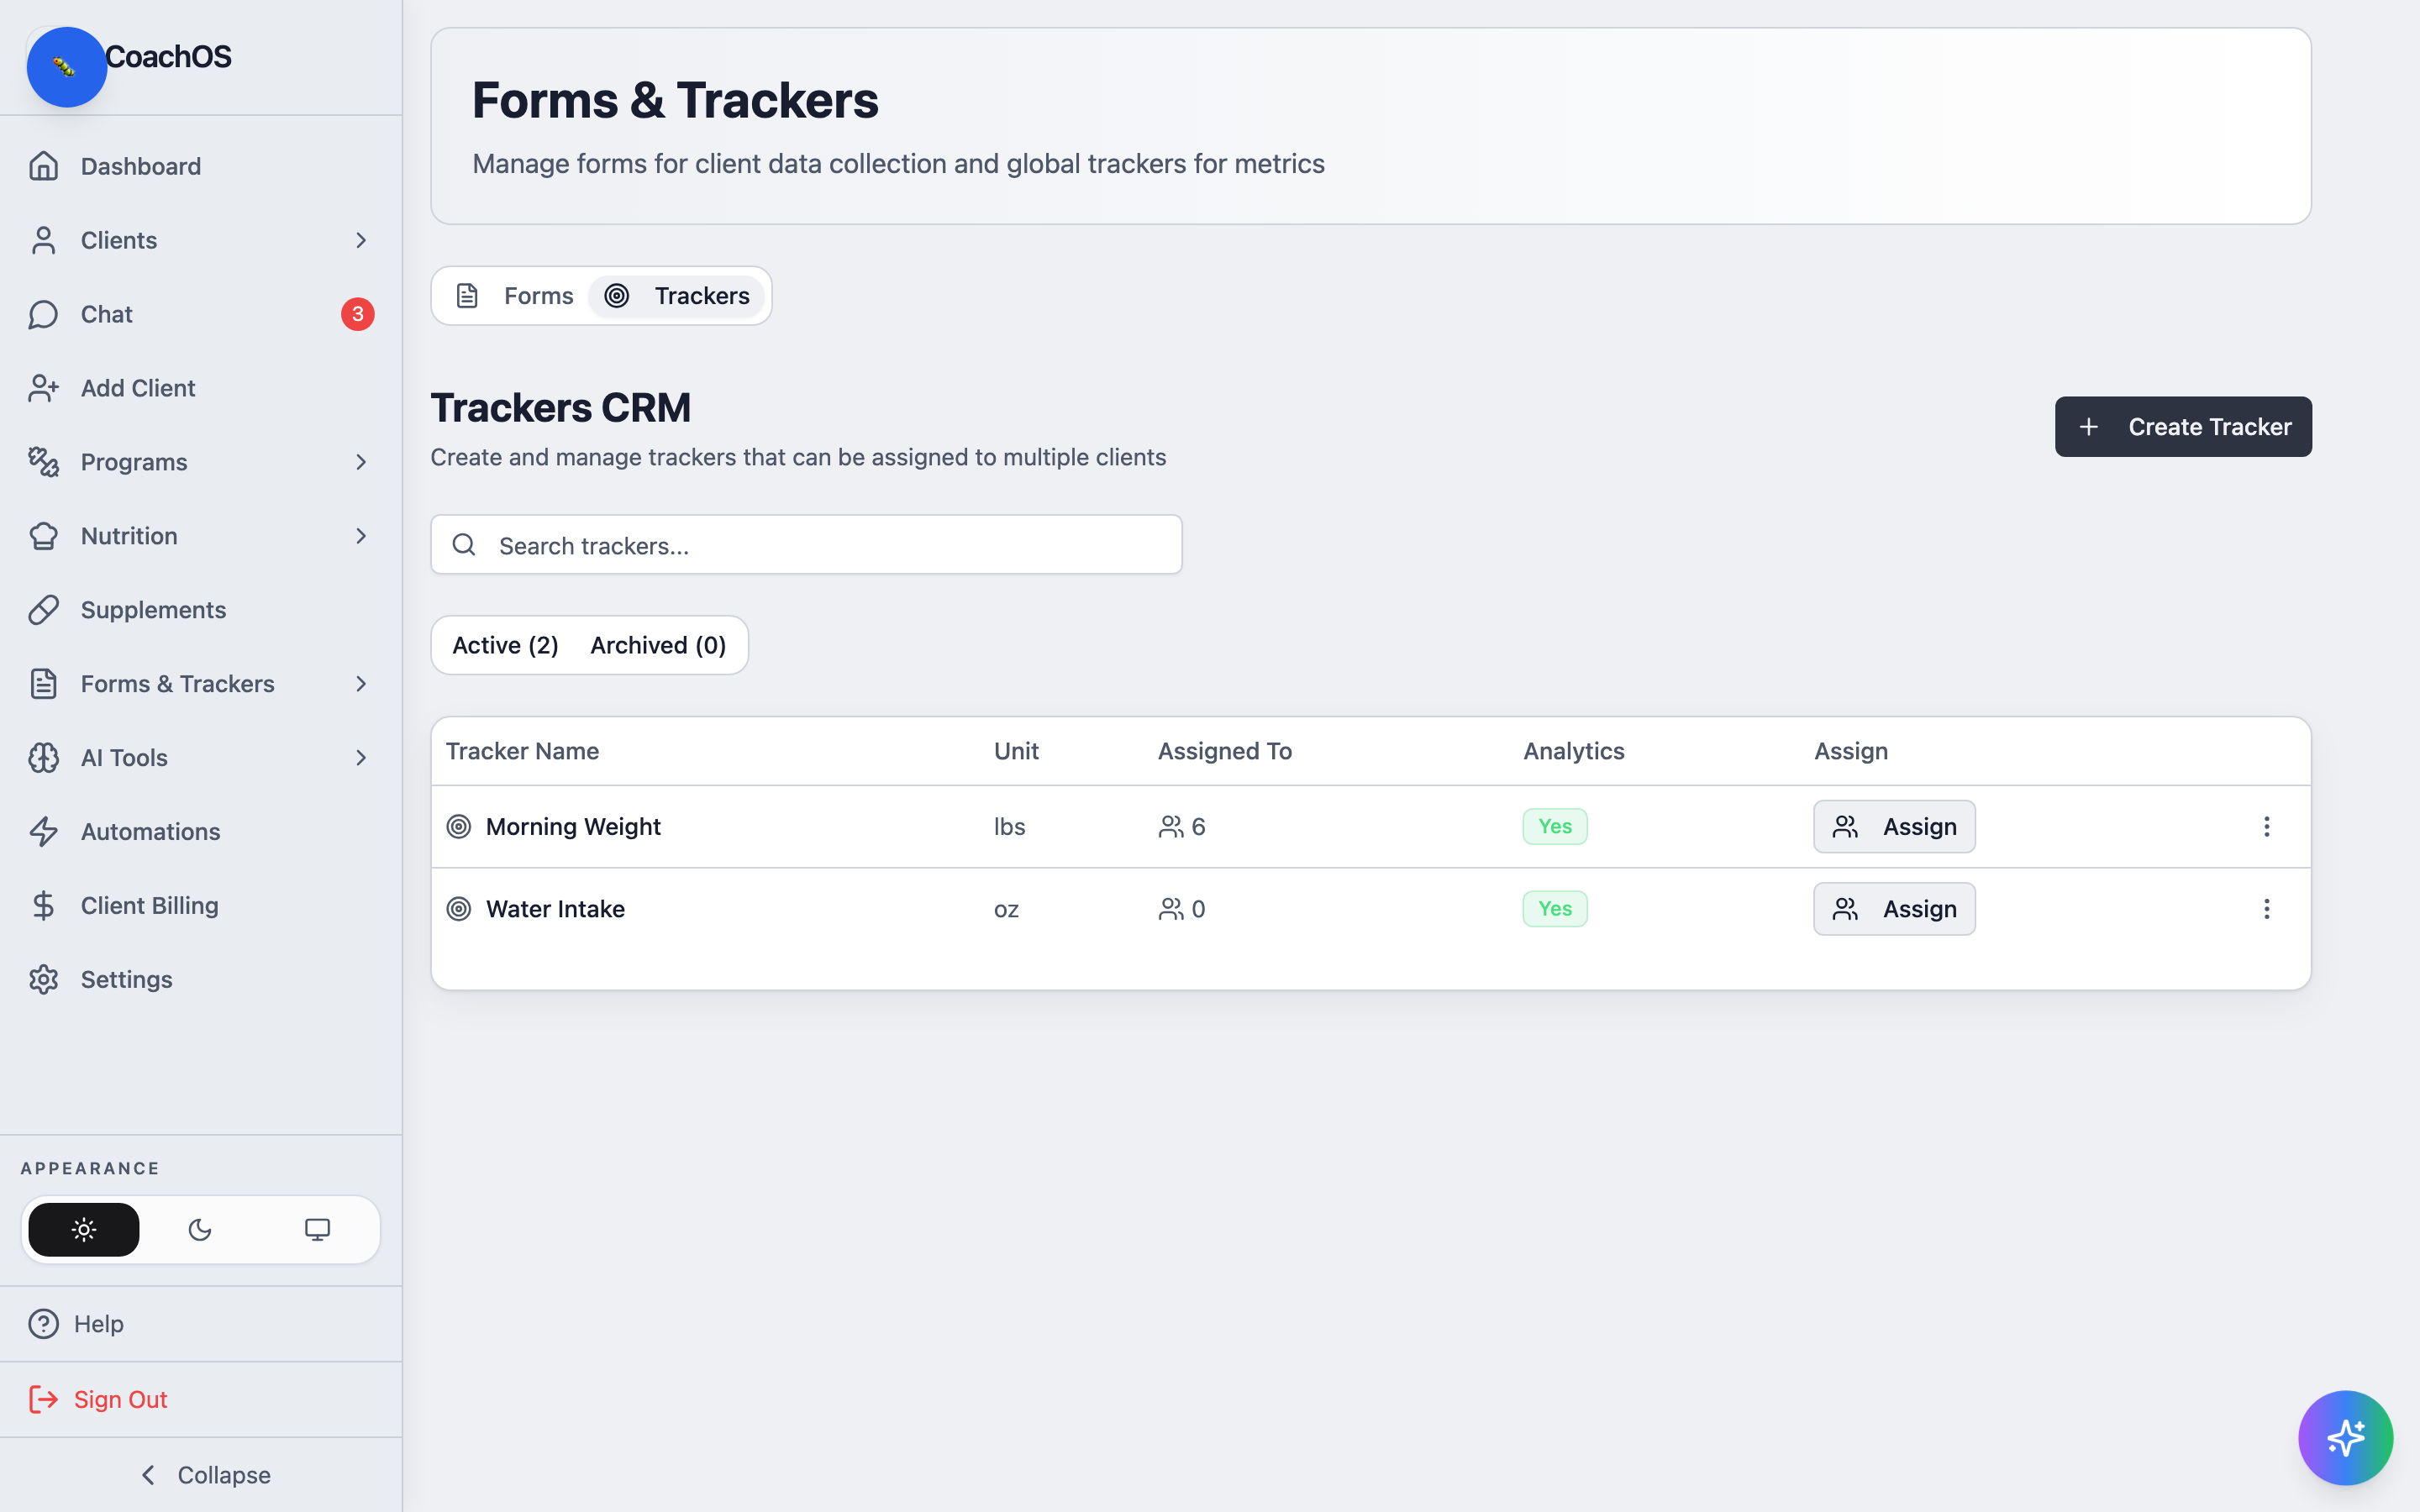
4. Manage trackers
The Trackers tab is your reusable metric library — Trackers CRM. Click Create Tracker to define a metric (name, unit, target direction), then Assign it to clients. Tracker entries feed the client's analytics charts and the dashboard's sleep and HRV alerts.