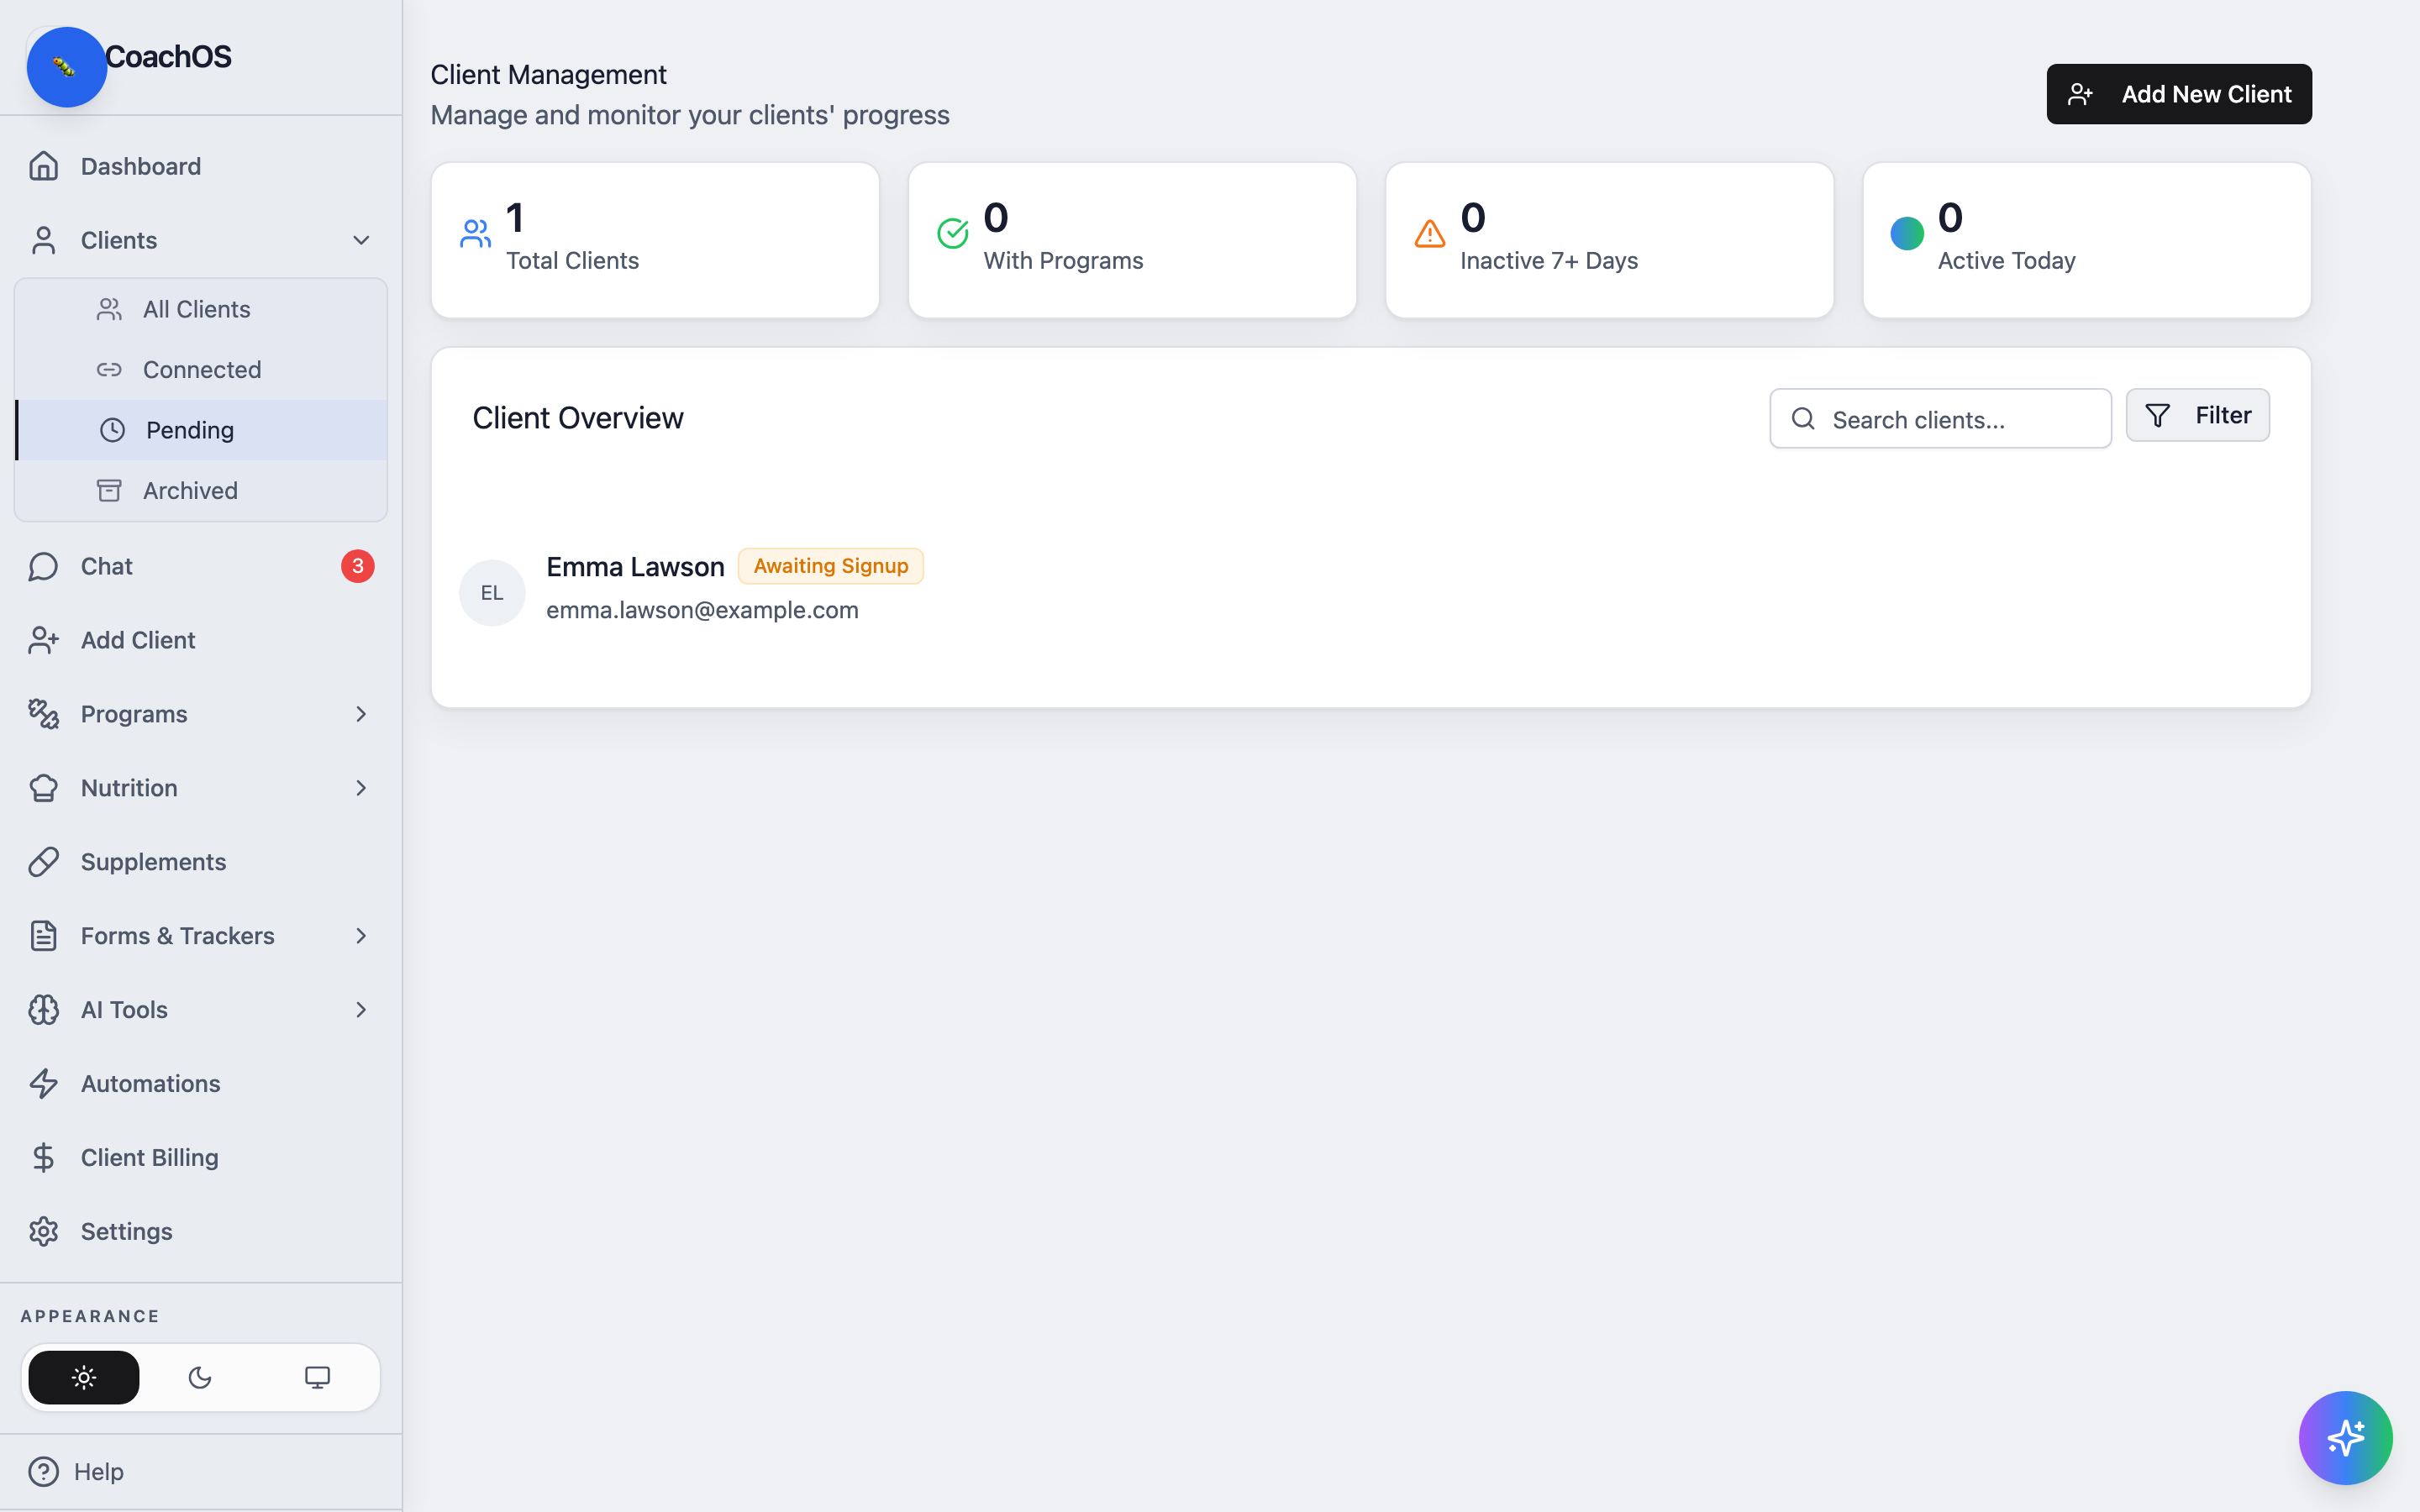
Adding a client sends them an email invitation to create their account. Use it whenever you sign a new client — they show up on your roster the moment they accept.
1. Open Add Client
In the sidebar, click Add Client.
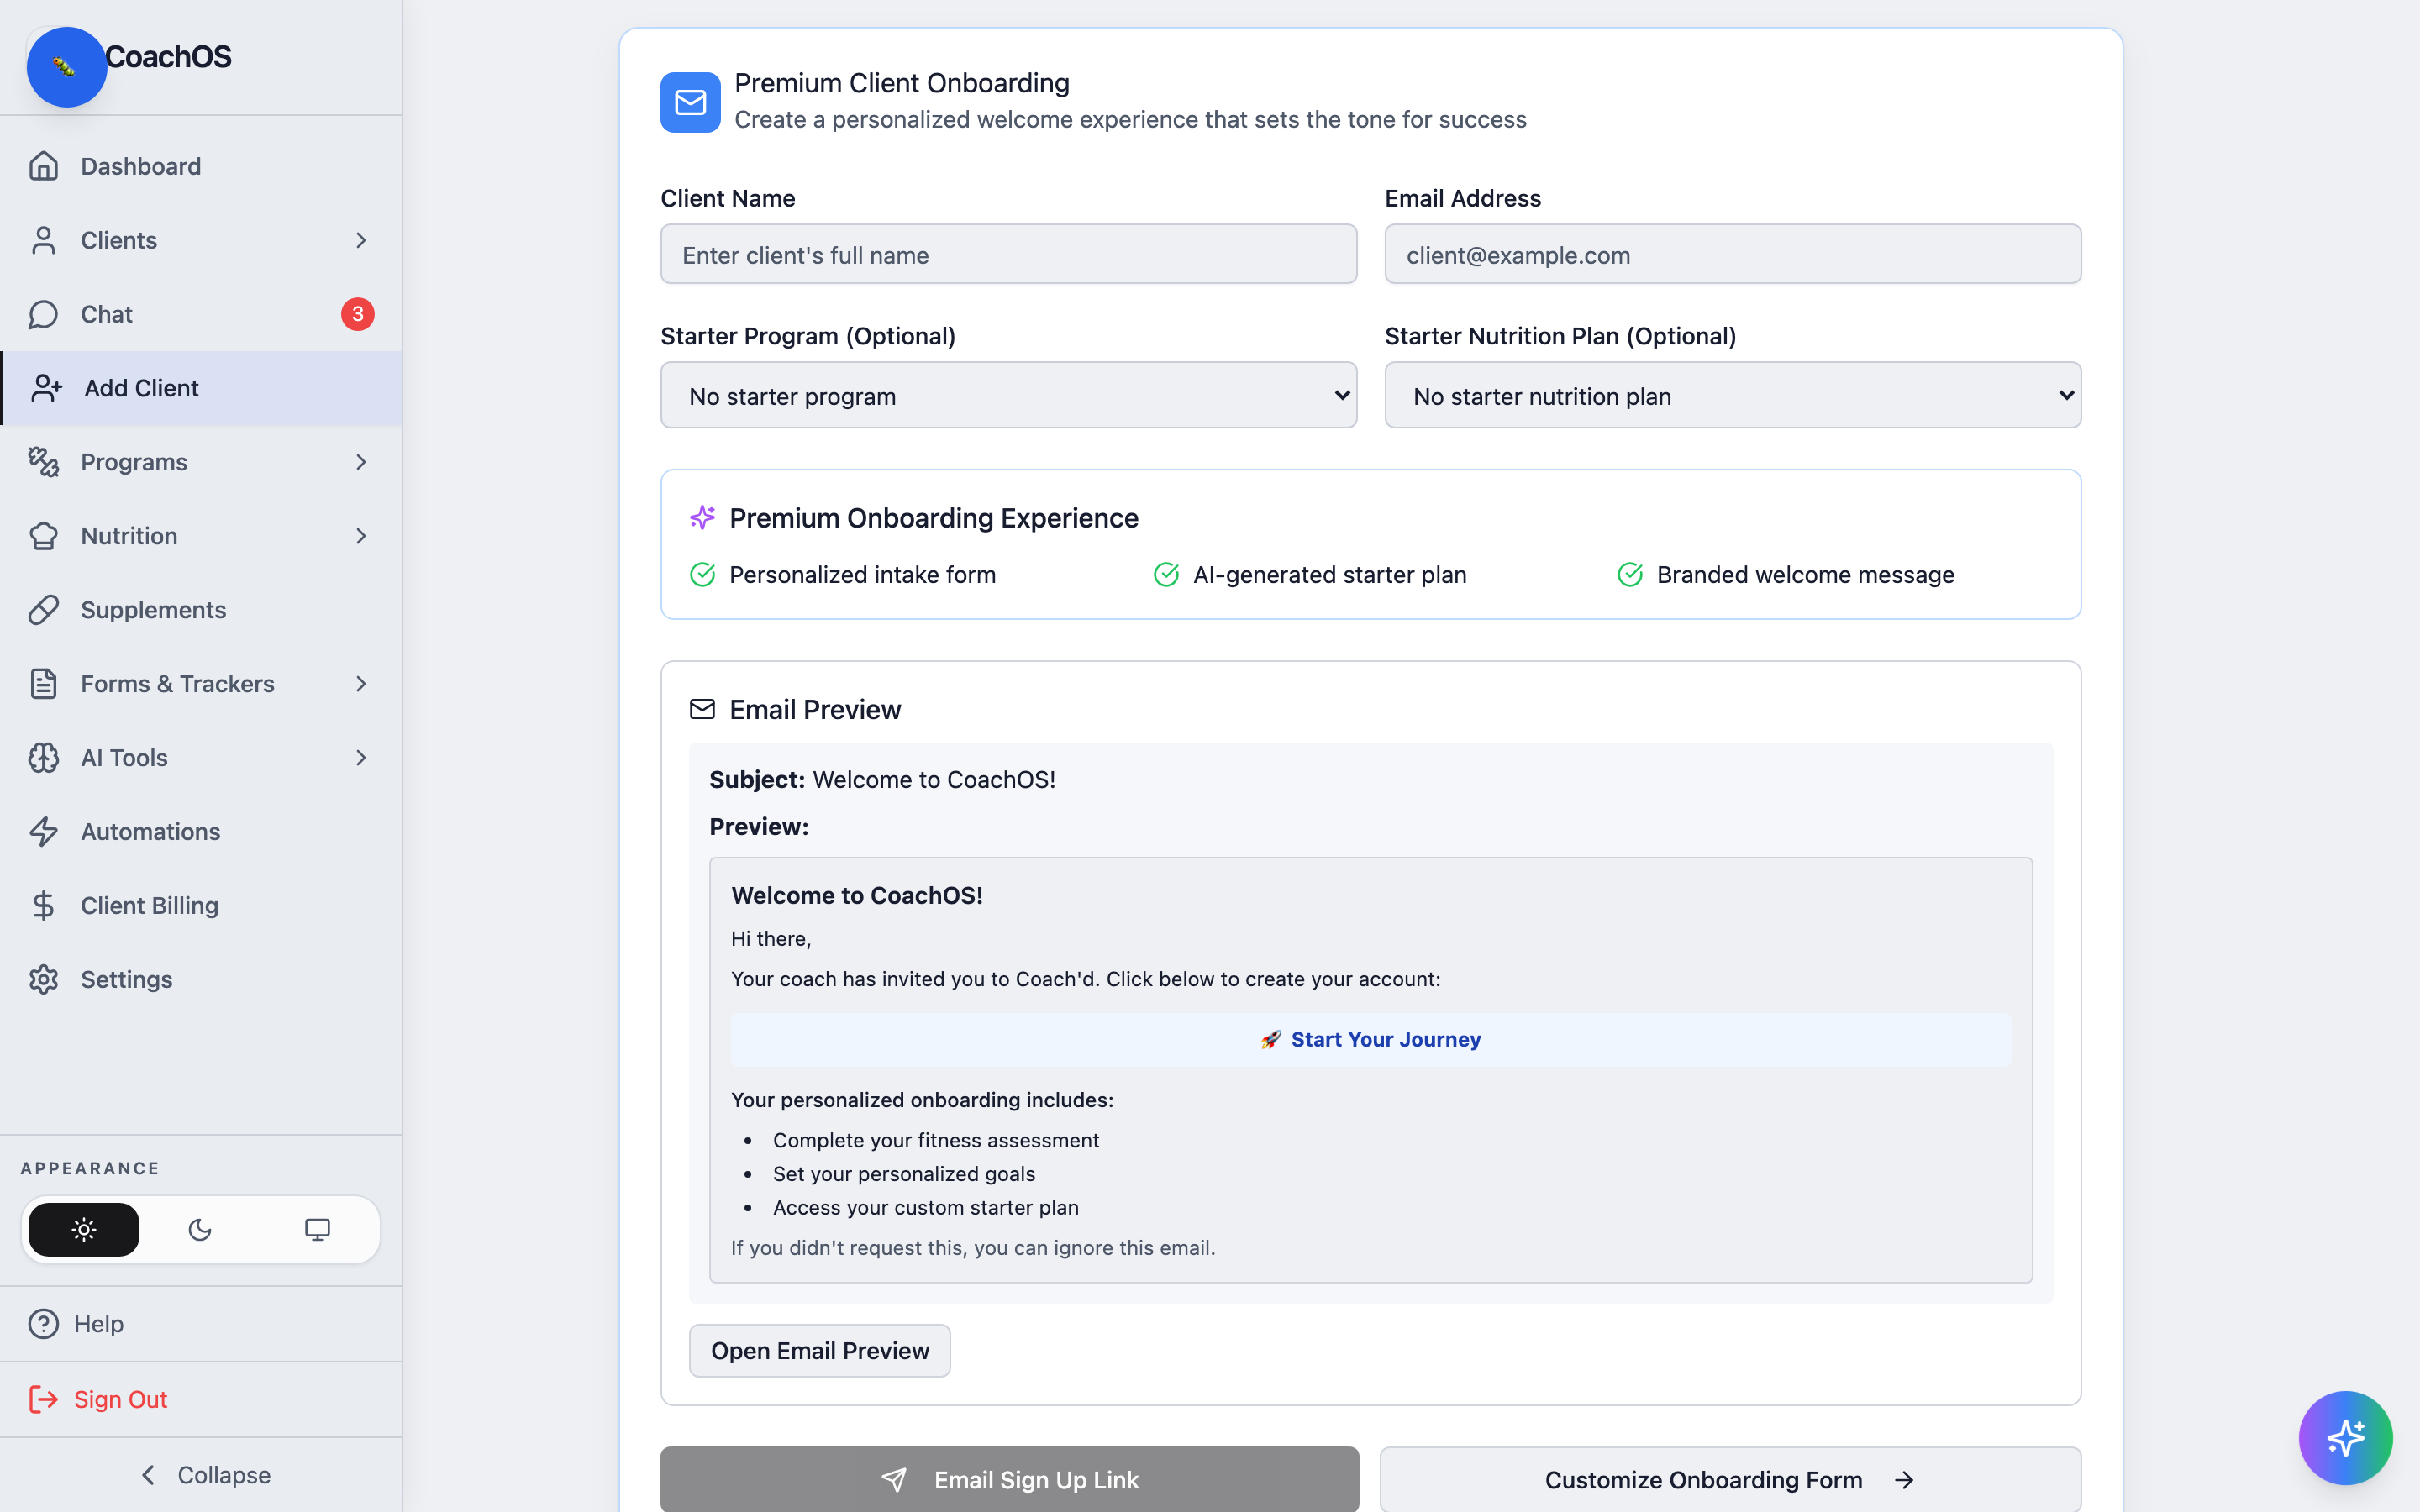
2. Enter the client's details
Type the client's full name in Client Name and their email in Email Address. To assign training or nutrition from day one, pick a plan under Starter Program (Optional) or Starter Nutrition Plan (Optional).
The Email Preview below the form shows the exact invitation your client will receive.
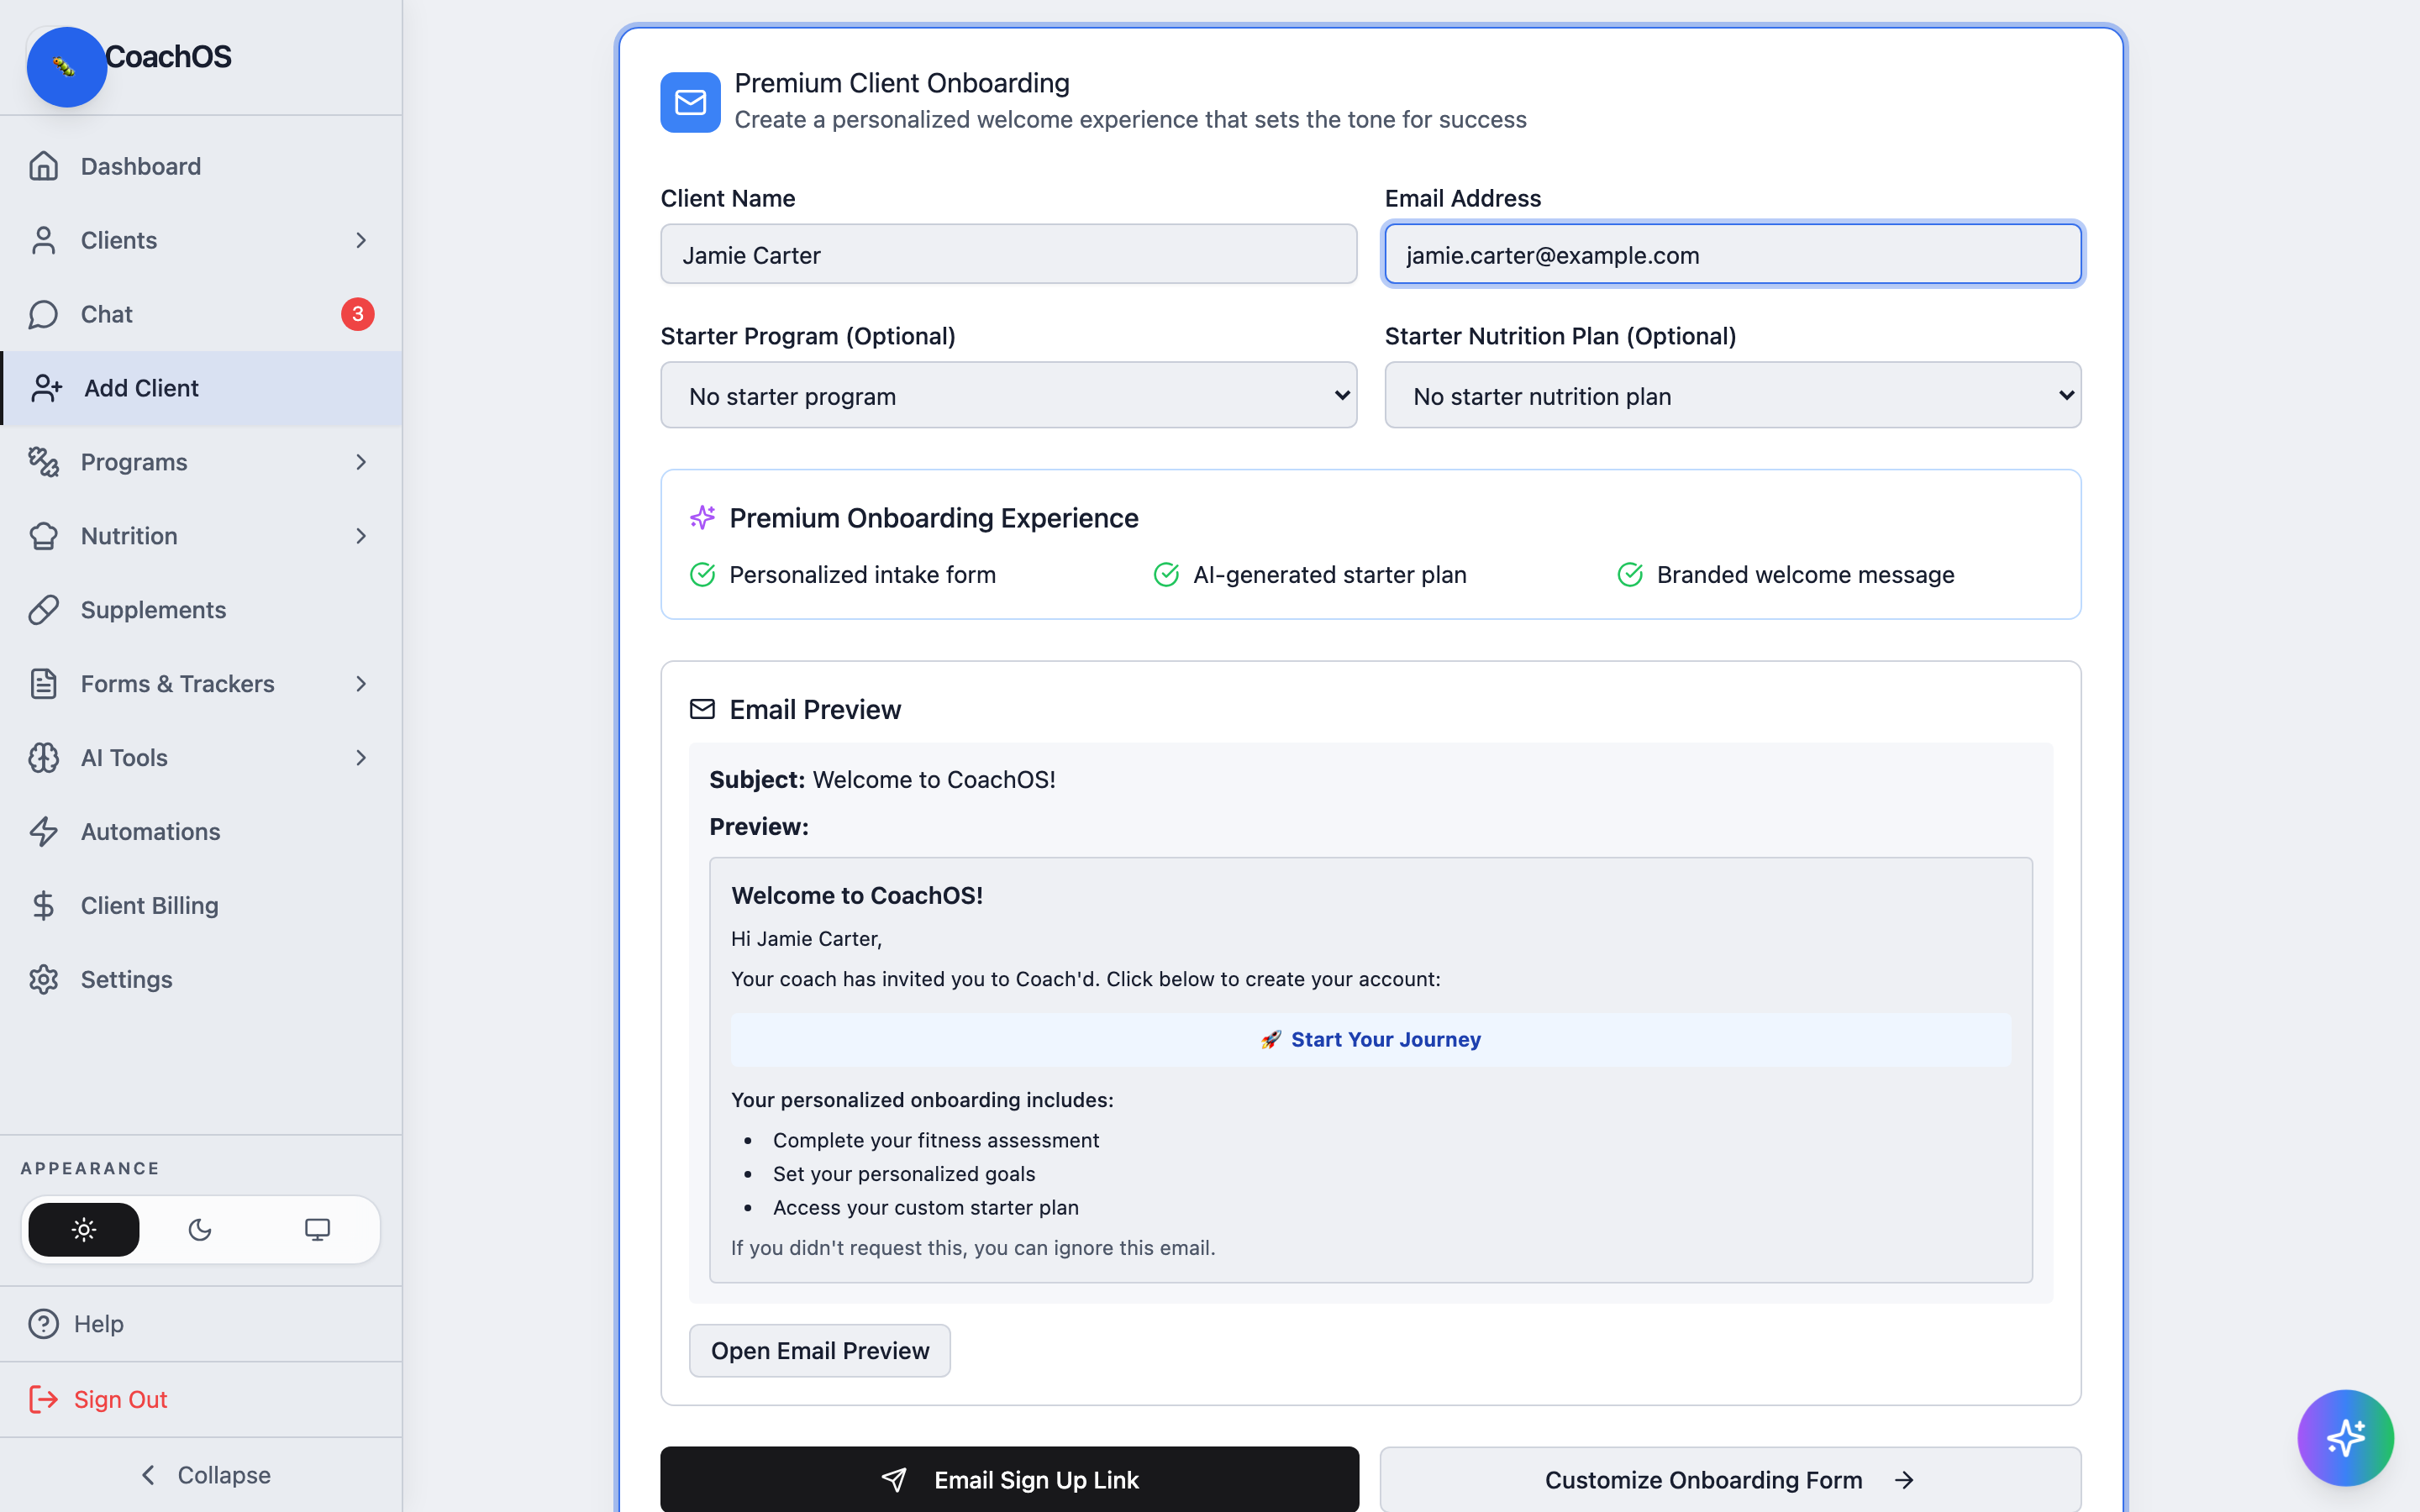
3. Send the invitation
Click Email Sign Up Link. CoachOS emails your client a sign-up link tied to your roster.
4. Track the invite
Until the client accepts, they appear under Clients → Pending with an Awaiting Signup badge. Once they create their account, they move to Connected automatically and their profile is ready to work with.